
Installing info-beamer hosted on a Raspberry Pi
Setting up the hardware
info-beamer hosted is designed to make it as easy as possible to get started. All you need is a Raspberry Pi, an empty SD card and an info-beamer hosted account. Before you get started you should take a look at the device setup documentation page. It contains a wide range of tips and tricks that help you maximize the reliability of your installation. Make sure to read those tips. Some of them are important if you want an installation that keeps working years, like having a good case.
Setting up the SD card
If you bought new and empty SD cards, usually you don't have to prepare anything. The SD card is ready to be used by info-beamer hosted and you can proceed to the next step.
If you want to reuse an existing SD card, format it with the FAT16 or FAT32 file system. This is the default file system for external storage devices. On Windows select the FAT32 option when formatting an existing SD card. Note that
Be sure there's nothing important on the SD card you use. The complete SD card will be deleted!
Installing the software
Installation of info-beamer hosted is made as simple as possible. First you need to download the software for the Pi:
Download the install.zip file and extract the content of it to your the empty SD card. That's all. If you're using Windows, you can follow our 5 step guide for installing using Windows. Once everything is on the SD card, remove it from your computer and place it in the Pi and proceed to the next step.
In rare cases you'll need to fetch the install.img.gz file instead. You can use the Raspberry Pi Imager tool to burn the downloaded image to an SD card. In almost all cases, using the install.zip is easier though.
Booting it up
If you're using Ethernet, connect the network cable to your Pi now. Also connect your display to the HDMI output of the Pi. The Pi4 is a bit special as it has two HDMI outputs: Unless you want to use both of them, be sure to use the one labeled HDMI0.
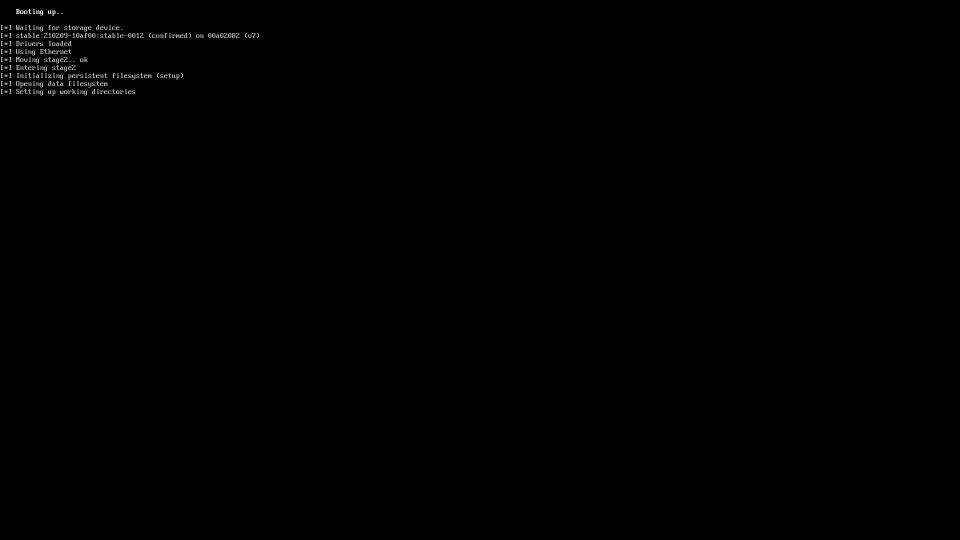
Finally power on the device. It will set up your SD card for info-beamer hosted. This might take a minute or two depending on the SD card speed. The screen will look like this:
Using the welcome screen
Once the system is ready it will transition into a graphical welcome screen that looks like this:
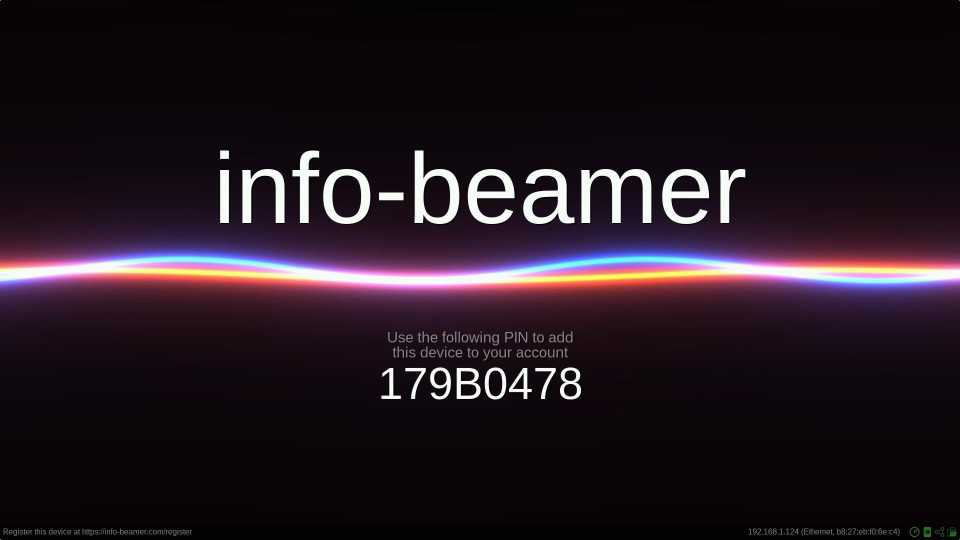
The welcome screen has useful indicators that make it easy to confirm if the system is working as intended: You can check if you can see the complete ouput and verify that all required network service can be reached.
Network information
In the bottom right corner you'll find information about the current network connection. You'll see the IP address as well as the network device used to establish a connection. If you see <no ip>, you might want to verify if your device is correctly configured.
Confirming screen size
There is a small white dot in all four corners of the screen. This allows you to verify that you can see the complete output generated by info-beamer hosted.
If you don't see those dots, you might have a look into your on-screen menu of your display. There might be options like
Checking all subsystems
There are four icons in the bottom right corner. Each of those icons represents a different feature that is checked when booting up. Each icons turns green once a feature is properly working.
| Icon is green | Icon is gray | |
 | A valid date and time was received. This means that NTP or other mechanism were able to get a proper system time for the device. | No system time. This prevents the device from contacting info-beamer's servers as a correct time is required to validate SSL certificates. If your DHCP server doesn't provide a local NTP server's IP address, a device will use fallback servers. |
 | DNS works. The device can lookup the info-beamer.com and other servers required for its operation. | If DNS is not available, a device won't be able to contact any of the required services and you won't be able to remote control it. |
 | A connection to the info-beamer hosted backend system was established and the device can receive commands. It will show as online once it's added to your account. | No backend connection could be established. The device might be in a firewalled network or might use a WiFi which required user input before it works. Those captive portals are not automatable by design and info-beamer won't work in such network environments. |
 | The sync host is reachable and the device can receive system updates and download new content. | You won't be able to update assigned content. Something weird is going on with the device's internet connection. See above for likely causes. |
All four icons should turn green after a few moments. If they don't, please confirm that your network is up and all the required services are reachable.
LED status indicator
The device uses both LEDs (the red and green one) to show its state. You can see that info-beamer took over control of both LED once they rapidly blink for two seconds around 10-20 seconds into the boot process. You can then use both to see some device state by looking at both LEDs.
The green LED indicates the network connection status:
 Off: No network yet
 Blinking, 100ms On, 900ms Off: The device has no IP address. Be sure the cable/WiFi is properly configured and either a static network configuration is used or a DHCP server is available.
 Blinking, 500ms On, 500ms Off: Got an IP, but doesn't have a network default gateway. Make sure the network environment is properly configured and the provided default route is correct.
 Blinking, 900ms On, 100ms Off: Found a gateway, but the device is not yet able to connect to the info-beamer hosted service. Make sure the network environment allows outgoing connection to all required services, there's no Captive portal or firewalls that might prevent access. If you use any kind of mobile hotspot or other environment with unstable uplink, be sure the internet is actually available at all.
 Fully lit: Device is connected to the info-beamer hosted service. It should appear as online in the dashboard or can be registered.
The red LED indicates some background tasks:
 Heartbeat pattern: WiFi UI or USB import are active.
 Fast pulses (200ms On/Off): The device is running a system update.
 Longer pulses (0.5s On/Off): The device is syncing and probably fetching newly assigned content.
- Off: Normal operation.
Adding the device to your account
Before you can put content on the device you first have to add it to your account. Visit the device list page and click the Register device.. button. Enter the PIN you seen on the welcome screen of your device. Once that's done the device will be added to your account and you can start using it.
