Create almost any type of multi screen setup with info-beamer hosted in a couple of minutes!
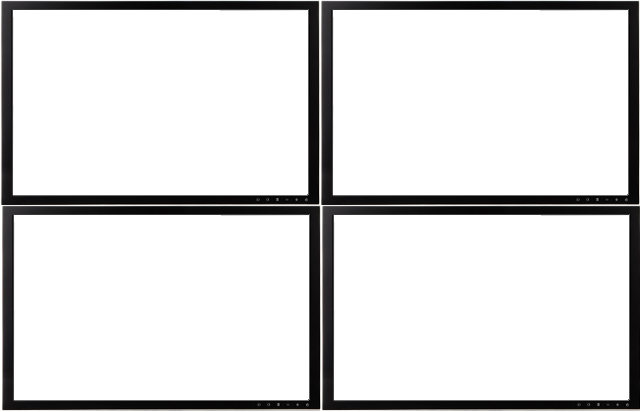
A grid based video wall
Probably the most used setup. Arrange any number of screens in a grid. So for example in a 2x2 configuration like you see on the left. You can use any number of screens for your setup. Each screen displays part of your videos or images.
The info-beamer software makes sure that videos and images switch at the exact same millisecond on as many screens as you want. You are not restricted to four screens: Configure any number of displays and be sure all of them are in sync. You don't even need a network connection between your screens!
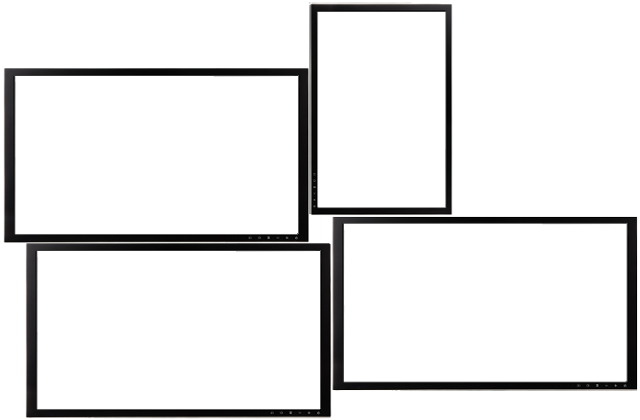
Flexible Video Wall
This video wall package adds a bit of flexiblity to the grid video wall: You can freely place your screens and can precisely control where your video/image content should end up.
This enables you to display content on screens that might not even have an exact output: Some LED video walls require you to precisely control the placement of your content to make the result looks seamless. You can easily do that with this package.
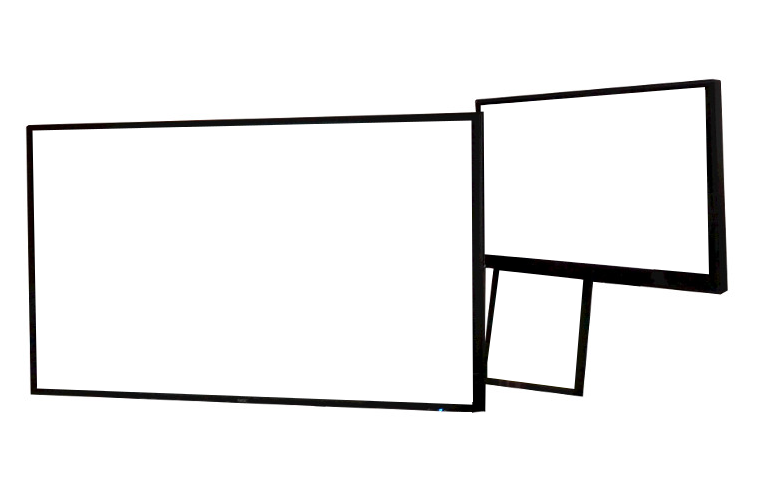
The Magic Video Wall
No other digital signage solution on the market can do this: You can show videos and images across multiple screens. And those screens can be placed in any way you like: You can freely rotate them, have them overlap each other or even let them face each other.
Once you've placed your screen you just take a picture of them. This is all that is required to configure your video wall!
After configuration is done you can view the video wall from the perspective you took the picture from. And all screens will be aligned perfectly to generate a stunning result. You'll have to see this one to believe it. Here's a short Youtube video that shows how it works.
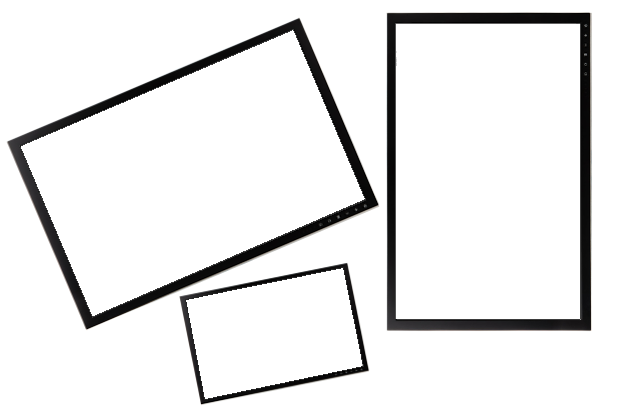
Freely arranged screens
info-beamer can even rotate and scale videos (and images) and show them on multiple screens. Of course perfectly synced!
You basically scale your video to a virtual size of your choice (e.g. 2m x 1.5m), then freely place screens onto that area. Unlike the Magic Video wall, the screens have to be planar. But you have pixel precise control how the screens produce their output.
If you're totally crazy, you might even have moving screens and info-beamer could dynamically adapt. While this isn't built-in at the moment it would not be too difficult to add.
Independent but synchronized screens
Using info-beamer hosted allows you to switch multiple screens at once and use the same or different transitions on each screen. This is great for information screens as it adds to the effect.
You can also use this package if you want to have mulitple screens show different videos and you want to start those videos at the exact same time.
All you have to do is to install the package and turn on the synchronized flag. Then add multiple playlists of the same total duration and they will be played in sync across any number of screens.
Frequently asked questions
Are both landscape and portrait mode supported?
Sure. Most packages that you can run on your screens have an option to select the orientation. So you can use portrait mode or landscape mode as you can rotate the output by 0°, 90°, 180° and 270°. The Freely arranged screens and Magic Video Wall allow you to freely rotate the screens.
How do I set up my video wall?
The first step is to decide which package suits your needs. Don't hesitate to get in contact if you need help with that. The next step is then to install the info-beamer hosted operating system on each device. We've made this incredibly simple and you do not need any knowledge about the Pi itself. Finally connect one Pi to each screen. Installing the video wall software itself can then be done from the web dashboard in a couple of steps. Be sure to check out specific video wall hints to ensure your video wall is perfect.
Do I need additional hardware?
Not at all. You only need one Pi per screen. You don't even need a designated "master device" or similar. You also don't need any special network settings or extra wiring. Just connect your Pis through WiFi or Ethernet and you're ready to go. info-beamer hosted offers the easiest video wall setup available for the Raspberry Pi.
What does it cost?
Using the various different video wall packages is free (you can even see their source code if you're interested). You only have to pay for the number of devices you use for your setup. See our pricing page for more information.Ready to go?
Get started for free
Signing up is totally free and you get a small start credit so you can test out these video walls and all other features of info-beamer hosted.
